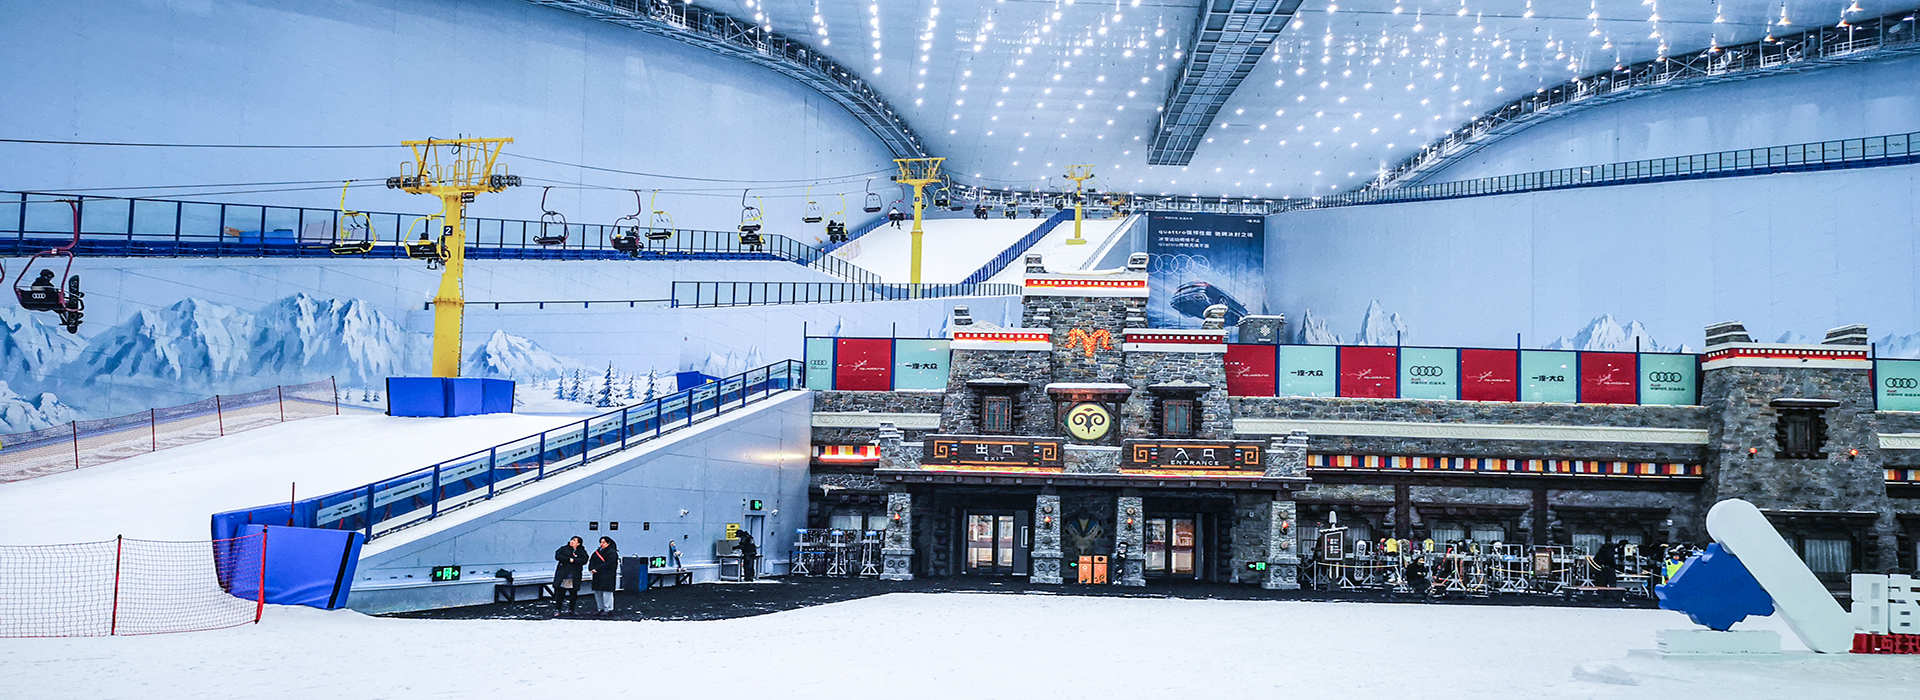
Installing a snowfall machine does not end with finding an open area and connecting water and power. For scenic-area snowfall machines, you must first verify six items—site selection, load-bearing and drainage, power supply capacity, water source and filtration, freeze protection, and routine maintenance—and then determine the number of units and piping routes. A proper snowfall machine installation sequence is: site verification, multi-discipline sign-off, foundation construction, water and power rough-in, equipment placement, zone-by-zone commissioning, and maintenance briefing. For equipment types, you can start with the Main Product Catalog, but final selection must still be based on site conditions.
Define boundaries first for snowfall machine installation: site selection and snowfall area
Look at the snowfall area first, then the equipment locations. Equipment locations must avoid main visitor routes, ponding areas around electrical distribution equipment, and narrow corners that cannot be serviced. At the same time, check wind direction, building obstructions, noise impact, and water mist drift. Nozzle orientation cannot be determined from renderings alone; it must account for the target landscape, visitor standing areas, and on-site commissioning space.
Take a 1,200 m² scenic-area snowfall zone as an example. First draw the visitor boundary, equipment boundary, and meltwater collection direction, then divide it into snowfall units that can be started and stopped independently. The area is only used to organize the scheme and is not directly converted into the number of units; equipment locations should be calculated based on equipment operating conditions, obstructions, and target visual effects. If the project also includes snowscape theming, interactive areas, and visitor circulation, you can also refer to the functional zoning approach of the Ice and Snow Park Business.
Load-bearing and drainage: complete the foundation before discussing equipment placement
For floor-mounted
Drainage must account for meltwater, filter cleaning water, and wastewater discharge at the same time. Prevent standing water and repeated freezing in the snowfall area; around the equipment foundation, do not allow water to flow toward electrical interfaces. Drainage slope, trenches, and discharge destination shall be determined by the project drainage design; for indoor sites, also check floor slip resistance, floor drain maintenance, and handling of accidental discharge.
Water and Power Conditions Table: Confirm Power Supply, Water Source, and Filtration in One Pass
Do not describe utility conditions simply as "water and power available." The table below can serve as a pre-purchase sign-off checklist; specific capacity, pressure, and filtration requirements are subject to the equipment documentation and project design.
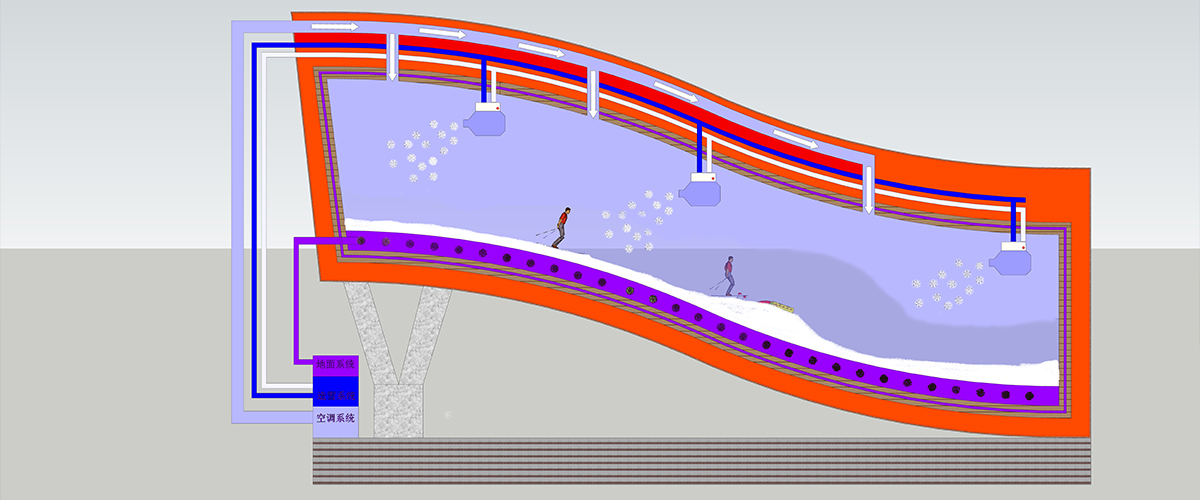
| Condition | Information to Obtain Before Installation | Key Verification Points |
|---|
| Power supply capacity | Load list for equipment, pumps, heat tracing, and auxiliary facilities | Calculate based on simultaneous operation; do not use the power of a single unit in place of the total demand |
| Power distribution and protection | Power supply system, circuits, cables, grounding, and protection scheme | Follow the equipment nameplate and the electrical design; provide isolation measures that facilitate servicing |
| Water source | Available water volume, pressure, quality, and water outage conditions | Verify against the equipment's rated operating conditions to avoid insufficient water supply when multiple units run simultaneously |
| Filtration and servicing | Filtration scheme, shut-off valves, drain and space for removal and cleaning | Determine filtration accuracy according to equipment requirements; do not apply a fixed mesh count on your own |
| Drainage | Discharge destination for snowmelt water, cleaning water, and wastewater | Check for unobstructed drainage, slip resistance, and isolation from electrical areas |
| Freeze protection | Outdoor pipeline routing, insulation and heat tracing, and drain points | Verify standing water at low points, valve locations, and long-term shutdown procedures |
An independent valve and an easily removable filter assembly should be reserved on the water supply pipe. The filter must not be sealed shut after installation; leave space for observation, drainage, and replacement. Power distribution capacity should be verified by electrical professionals based on the load list, and insufficient upstream capacity must not be masked on site by installing larger cables.
Equipment and Installation Budget: Estimate by Tier, Not a Flat Rate by Area
The budget can first be roughly estimated in three tiers. For a lightweight configuration with single-point equipment layout, basic on-site water and power, and no complex supports, the typical range is RMB 30,000-80,000. For configurations requiring multi-point layout, zone control, and general water and power modifications, the typical range is RMB 80,000-200,000. For configurations involving structural reinforcement, long-distance piping, or custom systems, the cost varies with the configuration and is ultimately calculated on a per-project basis.
When comparing proposals, list the equipment itself, filtration components, mounting brackets, controls, installation, power distribution modifications, drainage, and civil works restoration as separate line items. Comparing equipment prices alone can easily overlook the foundation and piping work that affects the schedule.
Freeze protection: Run through the water circuit even during shutdown
The key to freeze protection is trapped water, not just wrapping insulation around the exterior. During installation, check whether the filters, valves, hoses, pump bodies, and low points of the piping can be drained. Insulation and heat tracing for outdoor lines should be configured according to local weather conditions, equipment requirements, and project design.
At acceptance, physically walk through the shutdown procedure: stop the water supply, relieve pressure as required, drain trapped water, check the filtration components and low points, and then handle the operating power supply according to the equipment requirements. If the freeze-protection circuit still needs to operate, do not simply cut it off to save power. Record separate operating steps for long-term shutdown and daily overnight shutdown, and clearly label valves and drain points.
Daily maintenance: Put inspection items on the shift schedule
Each shift, check nozzle condition, pipe leakage, abnormal noise, water supply, and standing water on the ground. If snow fall is noticeably uneven, first check the water supply and for blockages rather than immediately increasing the operating intensity. Clean filtration components according to water quality and operating status. Bracket tightness, electrical grounding, and protective devices should be inspected periodically by the appropriate professionals.
Maintenance records should at minimum allow traceability of operating status, cleaning, fault symptoms, and replaced parts. For proposal presentations, you may refer to the presentation style of ice and snow case studies, but images cannot replace the load, water, power, and drainage calculations for this project.
Three questions to guide selection
If your site is an outdoor, open viewing platform with frequently changing wind direction, choose a scenic-area snow machine that supports zone-based start/stop, has adjustable snow output direction, and whose mounting bracket is suitable for structural verification. First place the equipment outside the main visitor walkways, then lay out the units according to the effective snow-fall area; do not simply match the number of units to the coverage area, and do not let water mist, noise, and maintenance access interfere with queue areas.
If your site is an indoor snow room—an enclosed space with limited ceiling height and drainage conditions—choose a snow machine with easily drained water lines, easily removable and washable filtration components, and operating status that can be viewed centrally. Before selection, have the structural, electrical, and drainage disciplines sign off to confirm equipment loads, maintenance space, and where meltwater will go; if there is no room for maintenance operations, even a compact model will increase maintenance difficulty.
If your site is a street block that is shut down at night in winter and has outdoor piping that may freeze, choose a snow machine with a clear shutdown and drain-down procedure, low-point drainage, and project-specific insulation and heat tracing. At procurement, include whether water remains in filters, valves, and hoses in the acceptance checklist; do not look only at daytime snow output—the freeze-protection loop and long-term shutdown treatment must also be demonstrated, documented, and handed over.
Conclusion: verify site conditions first, then lock in the equipment
First complete sign-off on site selection, structure, water and power, drainage, and freeze protection, then finalize the snow machine model and quantity. In the procurement list, separate equipment, filtration, supports, controls, installation, and water and power modifications, and reserve budget headroom by configuration level. After mobilization, perform acceptance in the sequence of "foundation—piping—equipment—standalone commissioning—zone integration—drain-down drill" and keep records. Before handover, include per-shift inspection, filter cleaning, shutdown drain-down, and freeze-protection checks in the shift schedule, with responsibilities assigned to named individuals.